<Written by Rachel>
Hey everybody! I took so many photos today while working on the stove install that I decided to just go ahead and put together a quick blog post to update on our process for this last project which we are really trying to get finished before hopefully moving back aboard tomorrow.
No, we weren’t able to finish the stove install today. We got started a little later than planned, and we kept running into issues, but getting past them, until the brackets wouldn’t fit on the wooden blocks… More on that later.
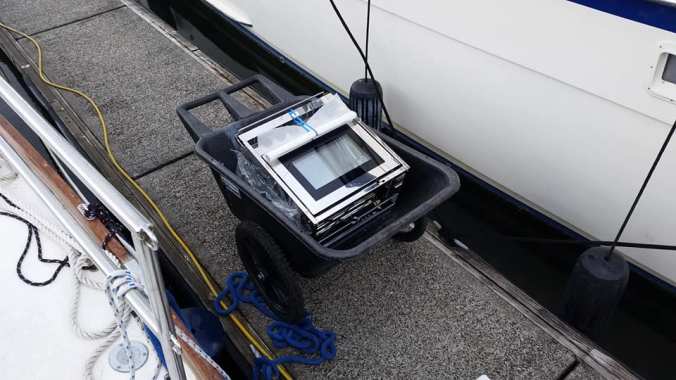
Just arriving – here’s the beautiful new stove. In case you don’t remember and want the deets, click here to check out the stove we bought.
After a year and a half living aboard without a functioning oven, I am SO excited to have this new unit installed and working. I can’t wait to cook up some yummy tuna casserole and try baking some homemade breads!
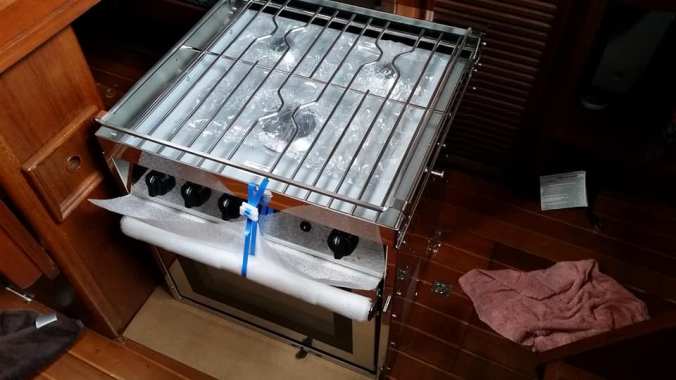
We didn’t have any issues getting the stove aboard the boat and through the companionway, though it was a tight fit.
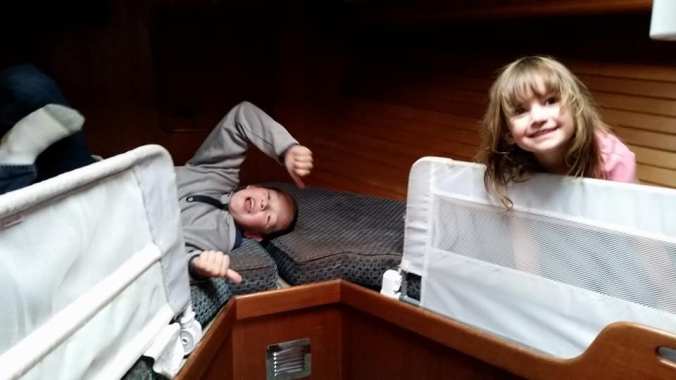
We brought the kids with us and they had fun rediscovering their room.
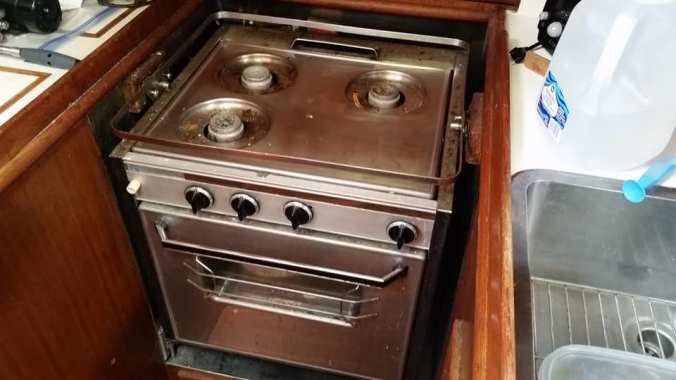
Here’s the old stove just before removal.
Brenden fiddling with the fittings which had nearly become fused over time and through corrosion.
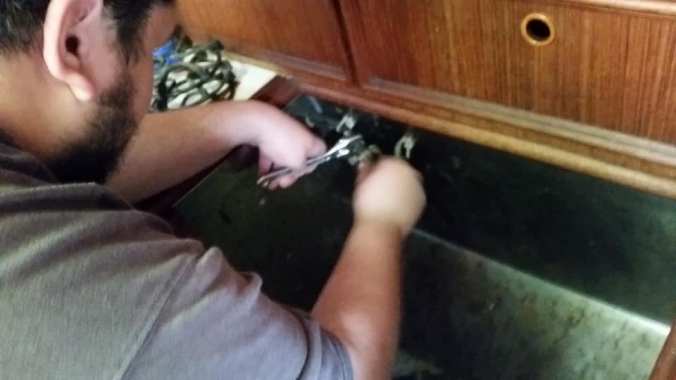
Thankfully, we had our buddy Brian at the boat with us and he was able to help Brenden with the removal of the old unit.
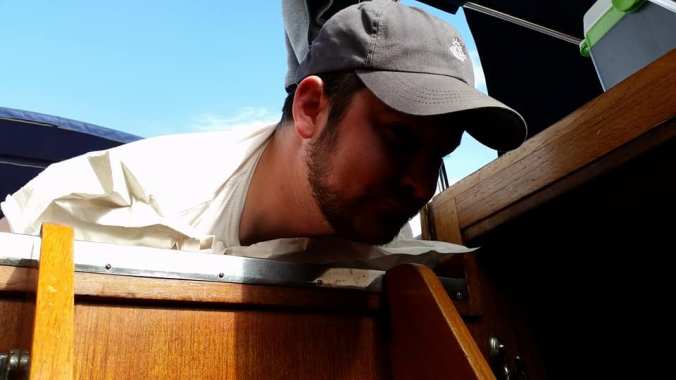
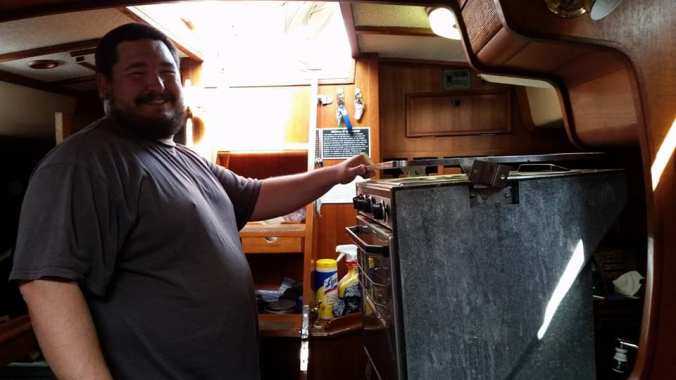
This is Brenden’s ‘take the damn picture already’ smile. Haha.
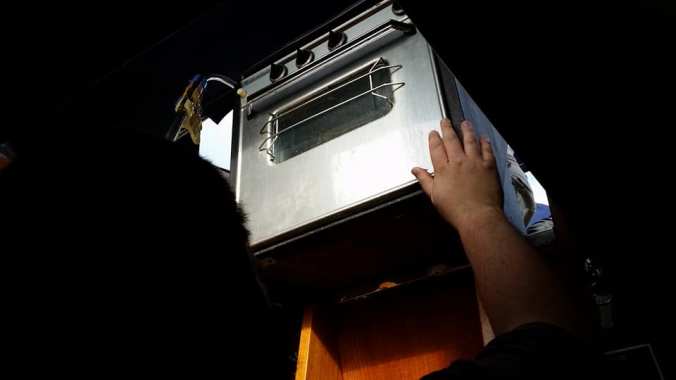
Up she goes. Easy. Easy!!
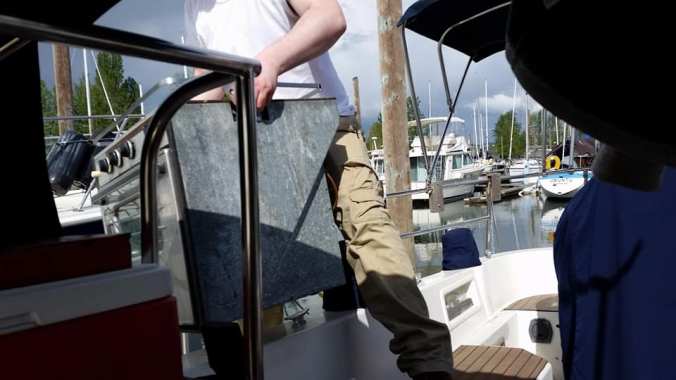
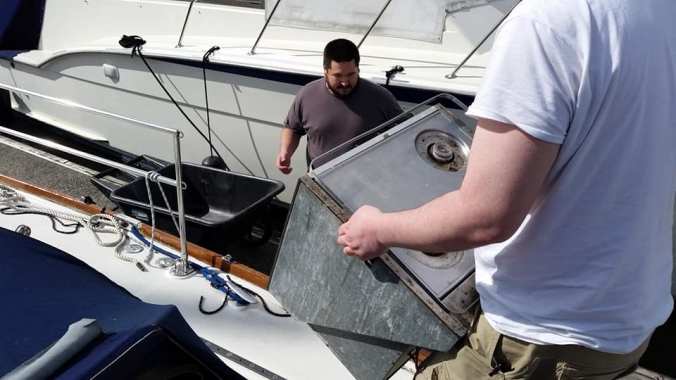
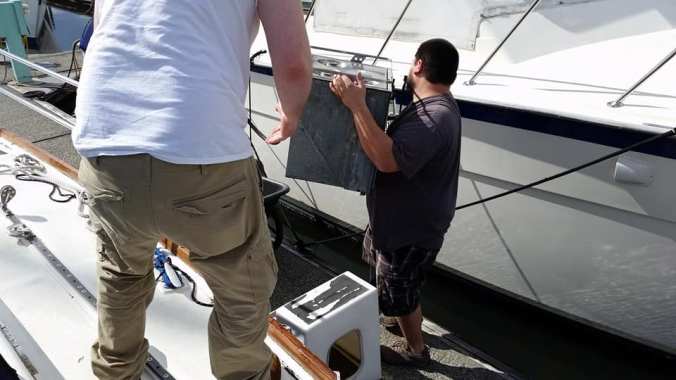
I was told that, no, we couldn’t just throw the old stove into the river…
So, next phase. We are also replacing the old propane line so we decided to tape the end of the new hose to the end of the old hose and try to run it that way.
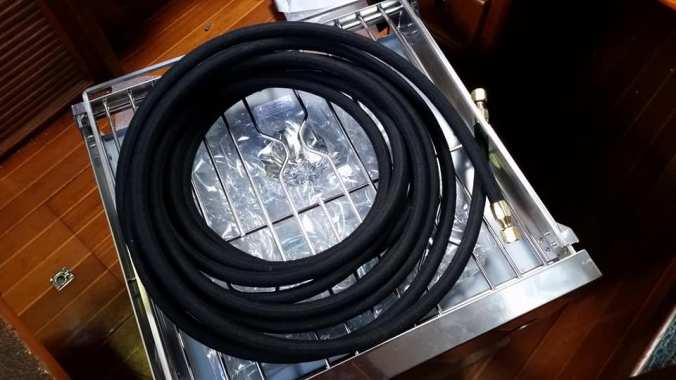
Here’s the pretty new hose: $5/foot and we ordered 33 feet, which ended up being a good 8-10 feet more than we needed, but oh well. Better too long than too short!
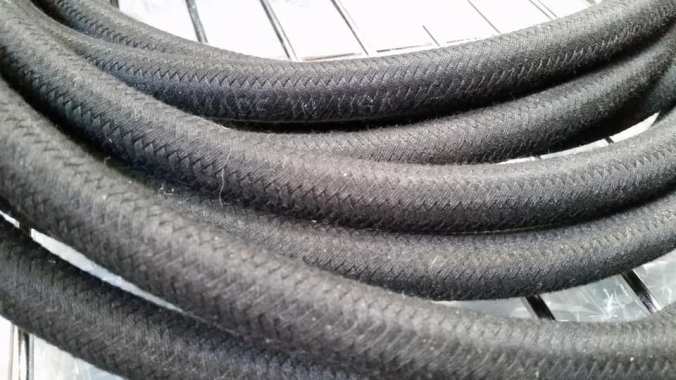
Major hiccup- in following the line, trying to guide the new hose through, we found that when the hose was installed, they had reached in and spray-foamed the hose in place, presumably to stabilize and secure it. The problem was that we could barely see and/or reach the spot through this tiny square hole in the headliner above our bed. We almost had to cut a hole in the cabin top in our room to get this hose broken free from the foam!
I managed to reach my arm in there, up to the shoulder almost, and still couldn’t reach the foam with my hand. So I had to use a ten-inch file to push, prod, poke, and saw at the foam to try to bust the hose free.
We used phones and a flashlight to relay the picture and try to see what I was doing and also go by feel to try to break up the foam. The whole process took about 45 minutes. It was deceptively difficult work and a very awkward position to maintain. I felt accomplished at the end!
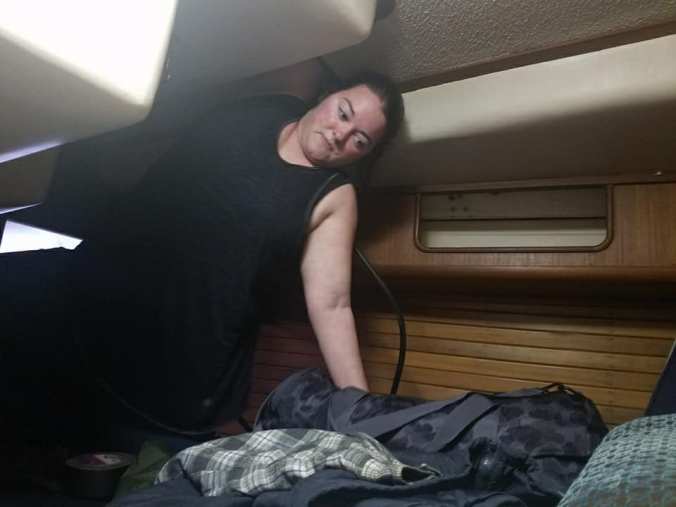
Here’s the progression of shots we took as I worked at destroying the evil foam. You can see the hose going in the front and out the back. For anybody wondering, this is inside the cockpit coaming.
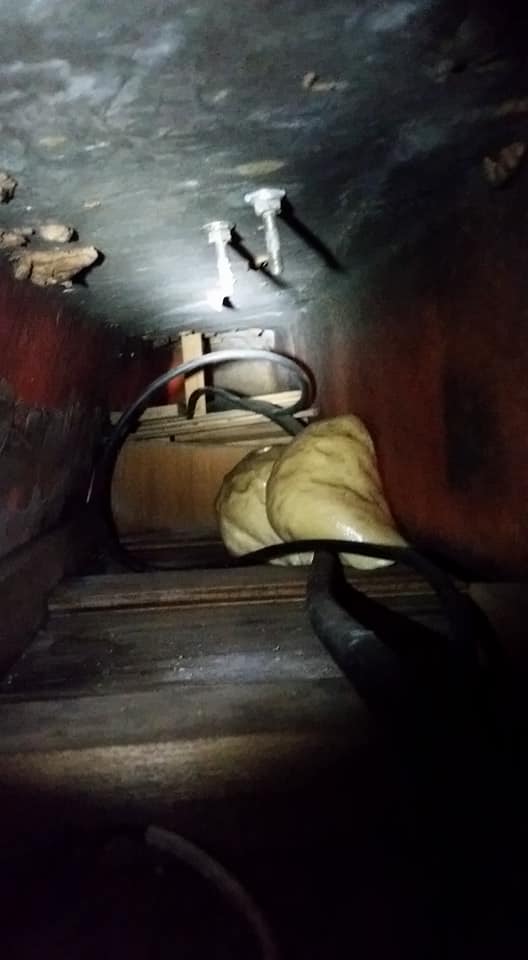
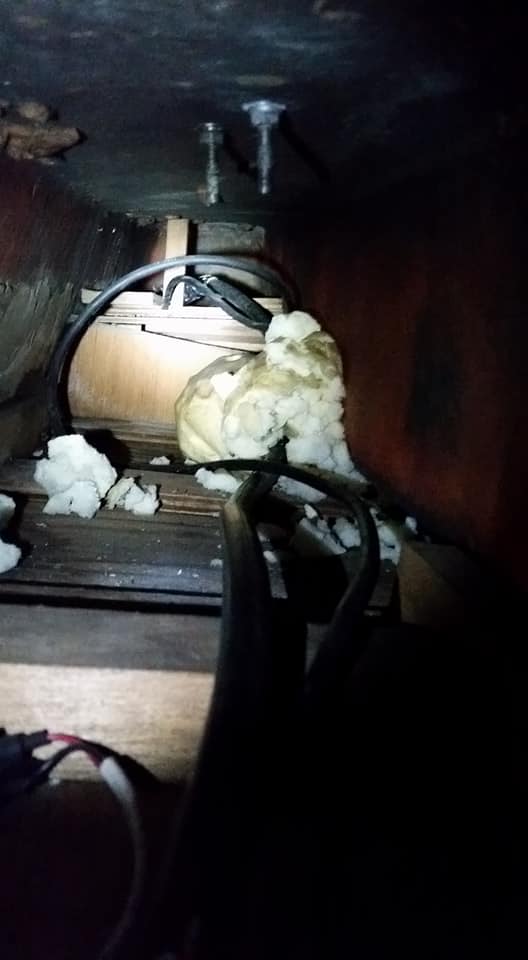
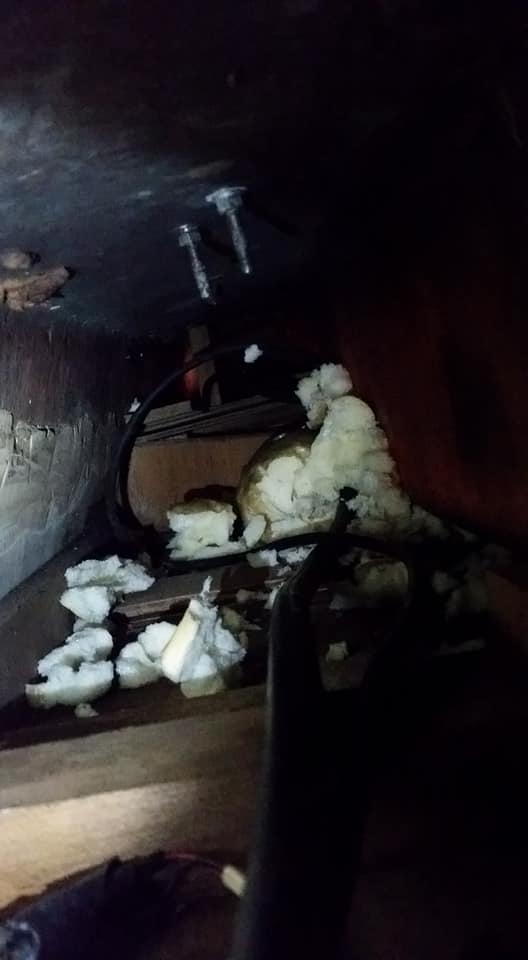
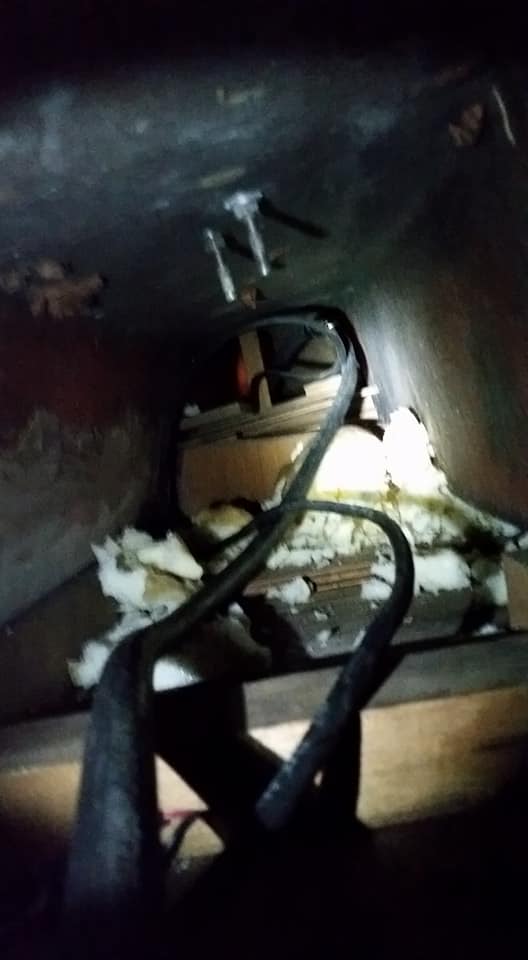
Finally, success! You can see here the hose is finally free of the foam. The rest of the run for the new hose went smoothly as it passed through and back to the aft lazarette.
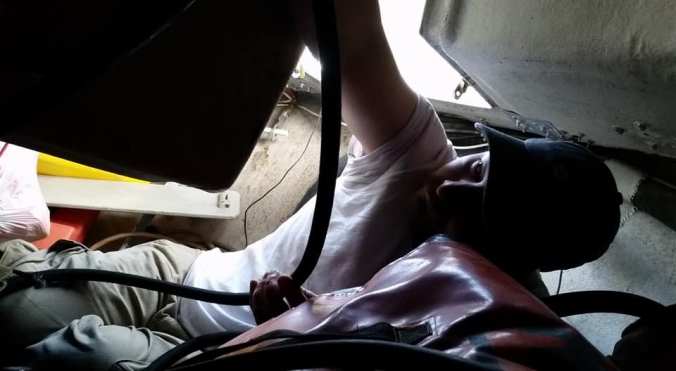
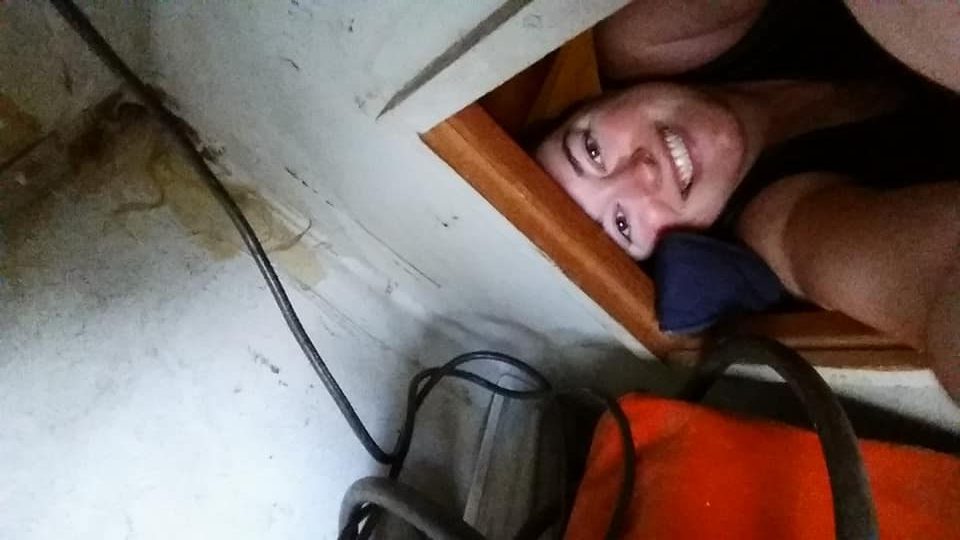
Brian was in the lazarette and you can see me here through the access hatch from the aft stateroom at the foot of the bed.
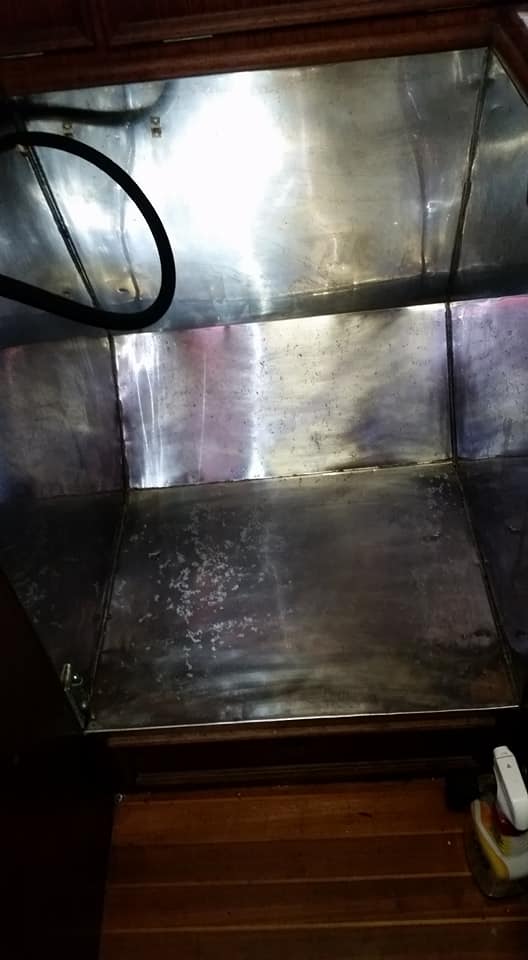
So then I spent a good half hour scrubbing the now-empty stove slot to get that good and clean. I’ll spare you the ‘before’ picture … it was pretty gnarly. Ha. There are still a lot of marks in the metal but it is actually pretty clean now. I may give it one more good scrub tomorrow.
Next phase was, of course, to mount the brackets for the gimble points and finish the install. We got pretty lucky when we bought this stove unit in that it has nearly the exact dimensions of the old stove so, thankfully, we don’t need to alter the stove cutout space. However, unfortunately, the actual brackets don’t fit on the existing wooden spacers. Damn! Major kink in the plan and buzzkill for the day.
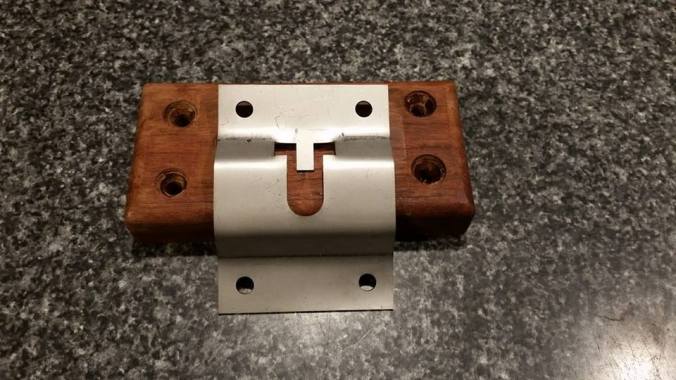
You can see one of the wooden spacers here with one of the new brackets. So, tomorrow’s major project is trying to source and prep some new wooden spacers so that we can mount the brackets and complete the install! Of course, tomorrow is Sunday so, hopefully, we can figure something out in order to check this project off the list and actually move back aboard! Wish us luck!! I’ll let you know how it goes.
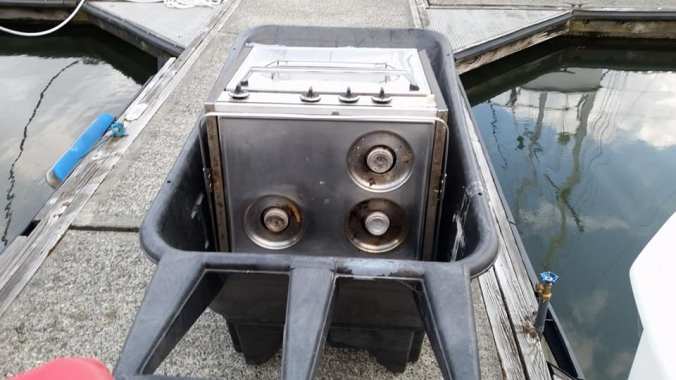
Old stove- you’re outta here!
Thanks for reading. Thanks for following. If you haven’t liked our Facebook page, I hope you’ll take a moment to do so. Wish us luck with tomorrow’s adventure! Till then, adios! ~Rachel
