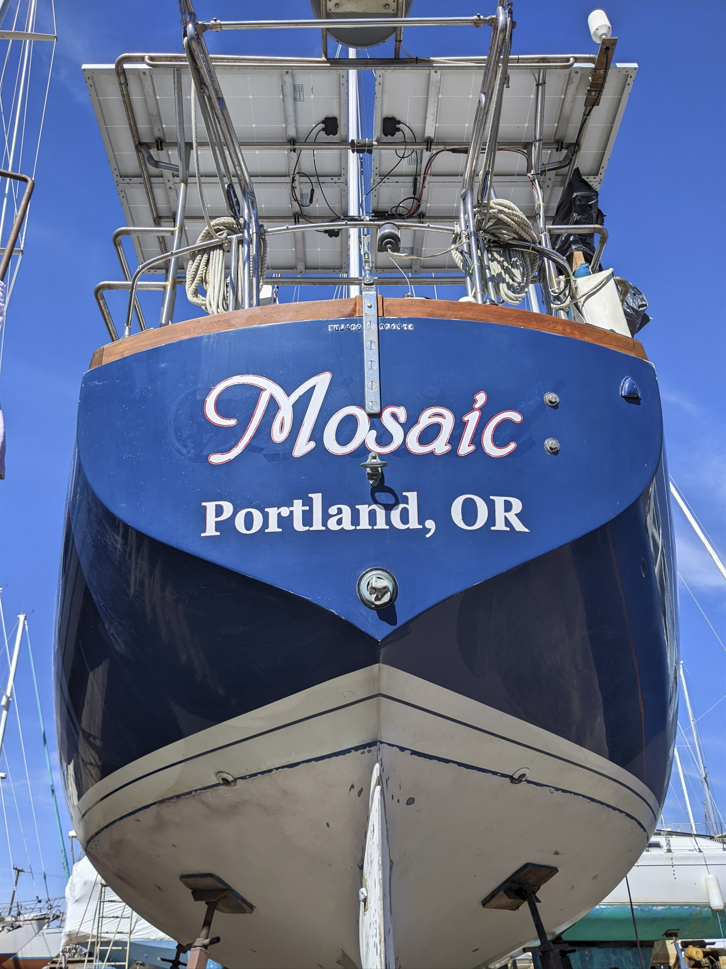
We bought our sailboat, Mosaic, in 2016. We moved aboard in Portland Oregon and set to work getting her ready for extended cruising. Over the years, we have completed countless updates and upgrades to the boat, but the teak toe rail never made it onto the ‘fix’ list for one reason or another. The teak restoration was a cosmetic project, and we always ran out of time. But during our haulout from ’22-’23, I decided to give the teak the love it’s deserved for so long.
Note: This post contains affiliate links. We may receive a small commission if you purchase items through the links in this post. All recommendations are genuine. The teak product I’m recommending in this post is the exact product I used for these results which was recommended to me by a fellow cruiser.
Quick Buy Project List
- Star Brite Teak Sealer
- DeWalt 5-inch Orbital Sander
- 80-grit to 120-grit sanding discs
- Hand sanding sponges
- 2″ chip paintbrush or 2″ foam brush
Preparing for your teak restoration project
Do you know what has been used on your boat’s teak in the past? In our case, we knew that the previous owners of our boat had used a varnish product called Cetol. It created an actual barrior between the wood and the elements. Over the years, the varnish was wearing off. I would often sit and pick at it to peel pieces off. As time went by, the teak looked worse and worse.
I imagine that sanding away whatever was used before would give you a clean slate, so to speak, to use whatever product you choose.
I knew that I wanted an easy solution to our teak’s needs. I am not the kind of person to spend hours and hours on our teak every season (clearly, since it went 6 years without really being touched!).
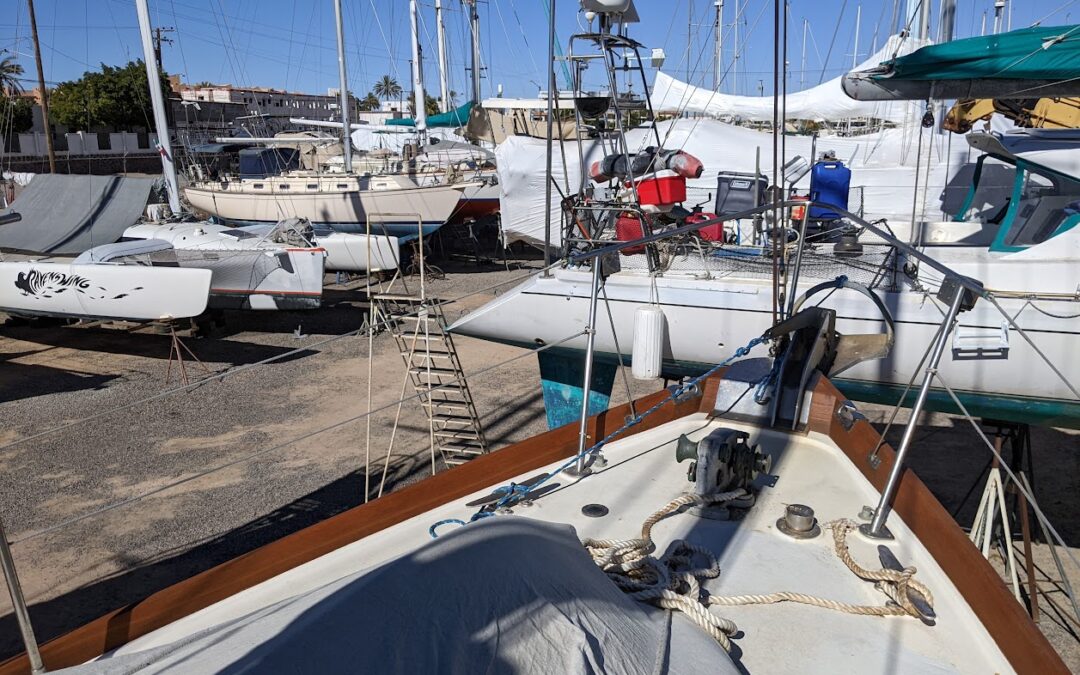
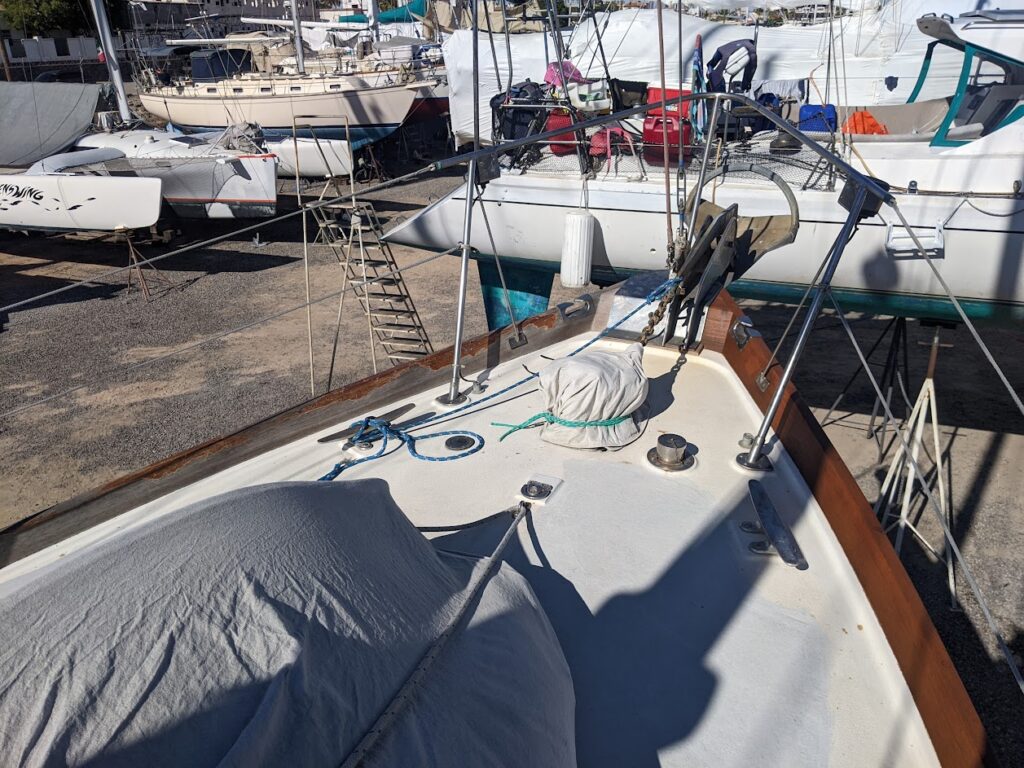
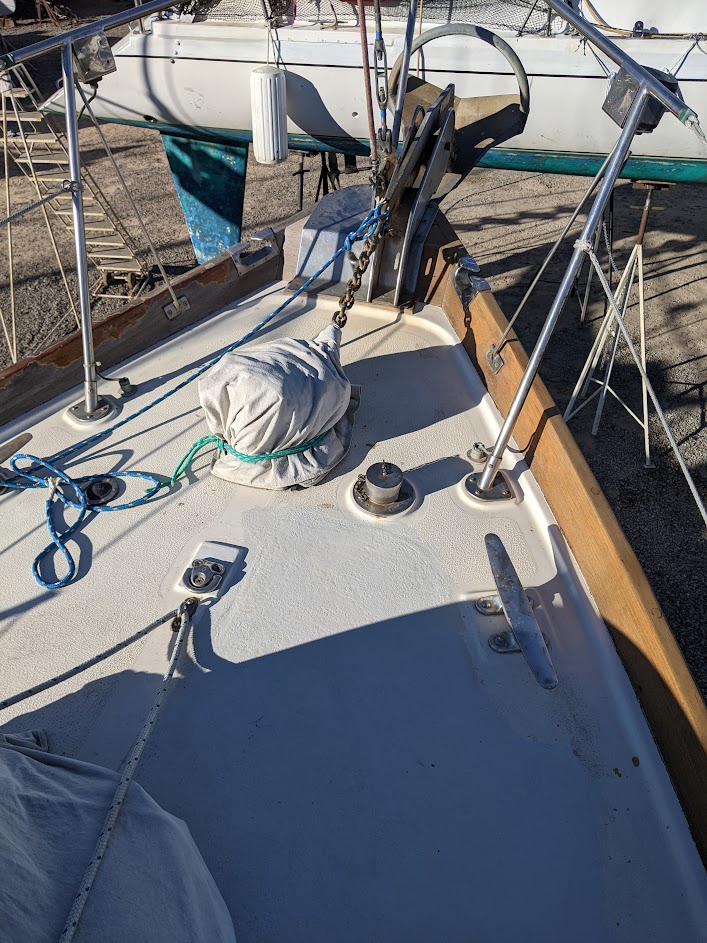
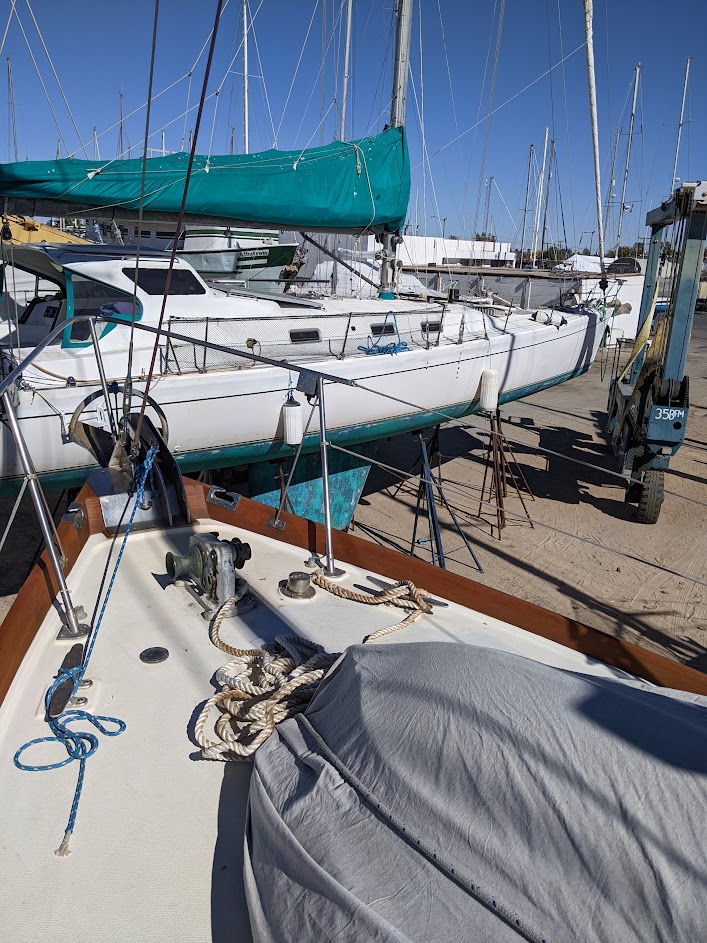
You can see in the picture above, the port side toe rail (left side in the picture), is what our teak looked like when I started this project. The gray patches are raw, weathered teak where the varnish had worn off over time. The brighter brown patches are where the Cetol was still intact, more or less, and protecting the wood.
Deciding what teak product to use
Initially, I was very intimidated by the thought of caring for and maintaining our boat’s teak. I didn’t want to have to deal with a multi-part system. Needing a very specific environment and a ton of care to ensure that applying it would be successful just did not interest me. I just wanted the wood to be pretty and easy to maintain.
I first learned about Star Brite Teak Sealer from a friend, Kerri (shout out!), who posted on social media about being happy with the product. She’d just finished the exact same project on her sailboat. She described it as easy and no-nonsense. I decided instantly that this was the product for me. Seeing her photos and hearing her recommendation was enough for me. I decided that this was the product I would use when I finally got around to fixing up our toe rails.

I promptly ordered a 32 oz can of the stuff … and then stowed it away in deep storage inside the boat and continued on with my life. 😂
We carried that can of teak sealer with us from the Puget Sound in the Pacific Northwest. We carried it hundreds of miles down the west coast of the US and into Mexico. I had it tucked away in a storage locker for years.
Doing the thing: the teak restoration project
When we finished our first season cruising in Mexico in the summer of 2022, we sailed up to Puerto Penasco and hauled out at the cruiser-famous Cabrales Boat Yard. With plans to leave the boat ‘on the hard’ for several months, we ventured back to the United States to visit friends and family. Upon returning, we started boat projects in order to get Mosaic ready to launch for another season of cruising. I finally decided that now was the time to tackle the teak toe rails. Looking at the patches of flakey old varnish, I couldn’t stand how run-down the boat looked.
I dug into our storage and found my can of Star Brite Teak Sealer and pulled it out. Read the directions: wash the wood, sand it, wash it again, apply teak sealer. Yes – this is exactly the level of commitment I want from my teak product. So, I did just that.
I planned to tackle this project in five sections: starboard and port sides each from bow to mid-ships, each side mid-ships to stern, and finally the stern itself. Mosaic is a 40-foot monohull – each section took about two hours to sand with our DeWalt 5-inch Orbital Sander using 80-grit to 120-grit sanding discs. I also used a couple different hand sanding sponges to work into the spaces that the sander couldn’t reach.
After the sanding was done, I rewashed the teak with a wash cloth and water to remove any remaining wood dust. Then I just carefully applied the teak sealer using a cheap 2″ chip paintbrush. Note – the product instructions recommend using a foam brush, but we had the others on-hand and they worked fine.

Let it dry and admire your work. Brenden has been giving me lots of compliments and, I have to agree, it turned out pretty nice. Just what I was hoping for!
For those wondering how much to buy, I used about half of my 32 oz can of teak sealer for one coat on the toe rail of our 40-foot sailboat.
Routine maintenance, moving forward
For the same reason that I chose to use this teak product in the first place, I love that maintaining it sounds super easy. Wash the wood when it starts to look a little dull, and simply reapply. I do not intend to sand our teak toe rails ever again! If we keep up with it and wash and reapply every 4-6 months, I expect it to keep looking fantastic. We’ll see!